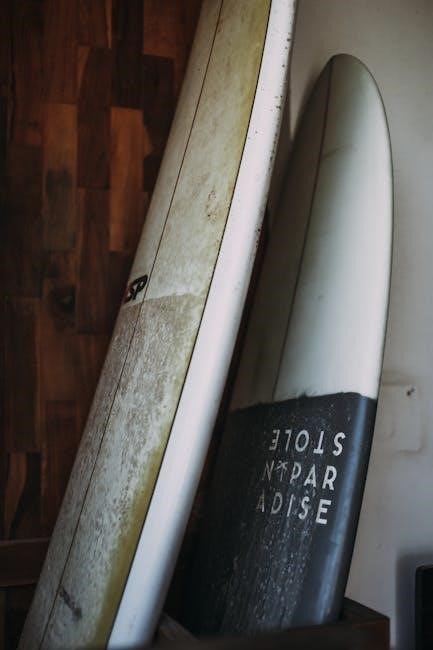
End grain cutting boards are constructed with wood fibers facing upwards, creating a durable, knife-friendly surface․ Popular among chefs and woodworking enthusiasts, they offer a unique aesthetic and exceptional longevity․
What Are End Grain Cutting Boards?
End grain cutting boards are crafted by arranging wood pieces so their fibers face upward, creating a smooth, durable surface․ This construction minimizes knife damage and offers a refined aesthetic․ Boards are often thicker and more resistant to wear, making them ideal for chefs and woodworking enthusiasts seeking both functionality and style in their kitchen tools․
Why Choose End Grain Over Edge Grain?
End grain cutting boards are preferred for their exceptional durability and knife-friendly surface․ The upward-facing wood fibers create a self-healing cutting surface, reducing knife wear and tear․ They are also aesthetically pleasing, showcasing the natural beauty of the wood․ While edge grain boards are strong and low-maintenance, end grain boards offer superior resistance to cracks and wear, making them a worthwhile investment for chefs and woodworking enthusiasts․
Materials and Tools Needed
Hardwoods like maple or walnut, food-safe glue, clamps, sandpaper, and a finish are essential․ Tools include a table saw, planer, drill press, and router for precise construction․
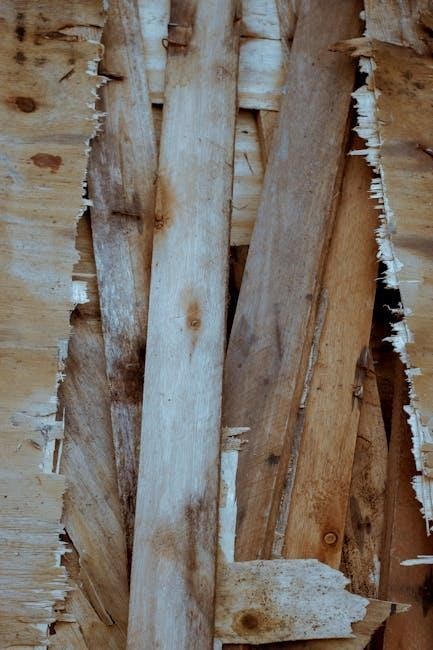
Best Types of Wood for End Grain Cutting Boards
Hardwoods like maple, walnut, and cherry are ideal due to their durability and fine grain․ These woods resist wear and moisture, ensuring longevity․ Tight-grain varieties minimize the risk of cracks, making them perfect for end grain construction․ Avoid softwoods, as they lack the density needed for a resilient cutting surface․
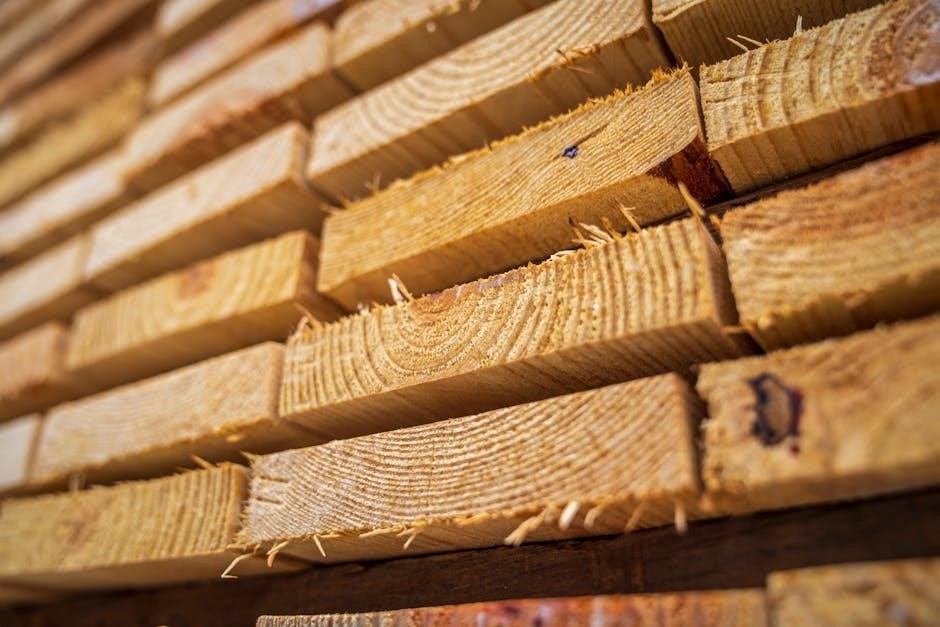
Essential Tools for Construction
A table saw or circular saw is crucial for precise cuts․ A planer ensures wood is evenly thicknessed, while a drill press aids in accurate hole drilling․ Clamps are vital for glue-ups, and sanders (belt or orbital) smooth surfaces․ Measuring tools like tape measures and squares ensure accuracy․ Safety gear, such as push sticks and goggles, is also indispensable for protecting the maker during the process․

Step-by-Step Construction Guide
A step-by-step guide detailing the process from wood selection to final assembly, ensuring a professional finish and durability for your end grain cutting board project․
Planning and Designing Your Cutting Board
Planning involves determining dimensions, wood types, and patterns․ Choose hardwoods like maple or walnut for durability․ Consider the layout to ensure a functional and visually appealing design․ Measure twice to avoid errors during construction․ Sketch or use software for precise layouts․ Ensure the design complements your kitchen while meeting practical needs for daily use․
Milling and Preparing the Wood
Milling involves planing and jointing wood to ensure smooth, even surfaces․ Use a jointer to flatten boards and a planer for uniform thickness․ Rip wood into strips or blanks, aligning grains for end-grain construction․ Sand thoroughly to remove imperfections․ Proper preparation ensures accurate assembly and a professional finish․
Glue-Up and Assembly Techniques
Glue-up involves carefully aligning wood strips or blanks, applying high-quality wood glue, and clamping tightly․ Use cauls to ensure even pressure and prevent warping․ Allow the glue to dry completely, typically 24 hours․ Ensure proper alignment during assembly to achieve a seamless, professional-looking end-grain cutting board․ Sand after glue-up to smooth any imperfections․
Design Patterns and Customization
End grain cutting boards offer stunning design possibilities, including checkerboard, brick, and 3D patterns․ Customization options like inlays, logos, or contrasting wood species allow for personalized, unique creations that enhance both functionality and visual appeal․
Popular End Grain Patterns
Popular end grain patterns include checkerboard, brick, and 3D optical illusions․ These designs enhance visual appeal and functionality․ Checkerboard patterns use contrasting wood species, while brick layouts create a sturdy, classic look․ 3D effects, like cubes or illusions, add artistic flair․ These patterns are widely admired for their aesthetic and durability, making them favorites among woodworking enthusiasts and chefs alike․
Adding Personal Touches and Designs
Personal touches like engravings, inlays, or custom patterns elevate end grain cutting boards․ Metal or wooden accents can add functionality and style․ For instance, embedding a steel core enhances durability, while intricate designs create visual appeal․ These unique additions make each board distinct, offering both practicality and artistic expression for chefs and woodworking enthusiasts alike․

Safety and Maintenance Tips
Maintain your end grain cutting board by regularly oiling and avoiding harsh chemicals․ Always handle sharp knives with care to prevent accidents and damage to the surface․
Store in a dry place and avoid prolonged soaking․ Sand lightly to remove scratches and apply food-safe finishes for longevity and hygiene․
Proper Care and Maintenance
Regularly oil your end grain cutting board with food-safe oils to maintain moisture balance and prevent cracking․ Avoid harsh chemicals or prolonged soaking, as this can damage the wood․ Clean with mild soap and dry thoroughly after use․
Lightly sand the surface to remove scratches and reapply oil to keep it hygienic and durable․ Proper care ensures longevity and maintains the board’s natural beauty․
Safety Considerations for Woodworking
Always wear safety glasses and a dust mask when working with power tools․ Keep loose clothing tied back and avoid jewelry that could catch on machinery․ Ensure proper ventilation to avoid inhaling wood dust․ Maintain a clean workspace to prevent tripping hazards․ Never reach over moving blades, and use push sticks or other safety devices for precise cuts․ Follow tool manufacturer guidelines for safe operation․

Advanced Techniques and Features
Explore advanced techniques like incorporating metal or inlays for unique designs․ Create stunning 3D effects or optical illusions to elevate your end grain cutting boards․
Incorporating Metal or Inlays
Add a touch of sophistication by incorporating metal or decorative inlays into your end grain cutting boards․ Metal additions, like embedded steel, enhance durability and create a modern look․ Inlays can feature intricate patterns or logos, offering a personalized aesthetic․ This technique allows for functional and artistic customization, making your cutting board truly unique․ Explore creative designs to elevate your project beyond traditional woodworking․
Creating 3D Effects or Optical Illusions
Take your end grain cutting board to the next level by creating 3D effects or optical illusions․ Techniques like layering wood strips or adding intricate patterns can produce a three-dimensional appearance․ For instance, a 3D cube design creates a visually striking effect, while optical illusions can add depth and complexity․ These creative methods transform a simple cutting board into a masterpiece, blending functionality with artistic flair․
Resources and PDF Plans
Find detailed end grain cutting board plans online, offering step-by-step guides and diagrams․ Websites like KingsFineWoodworking provide premium and free PDF plans for various designs, from simple to intricate patterns․
Where to Find Detailed PDF Plans
Detailed end grain cutting board PDF plans are available online through woodworking websites like KingsFineWoodworking․ These plans often include step-by-step guides, diagrams, and customizable templates․ Both free and paid options are accessible, catering to various skill levels and design preferences․ They provide clear instructions for constructing professional-grade cutting boards with unique patterns and finishes․
Free and Paid Resources for End Grain Projects
Both free and paid resources are available for end grain projects․ Websites like KingsFineWoodworking offer detailed PDF plans, including customizable templates and 3D designs․ Free plans are ideal for basic projects, while paid options provide advanced features and intricate patterns․ These resources cater to all skill levels, ensuring craftsmen can create professional-grade end grain cutting boards with ease and precision․
Troubleshooting Common Issues
Common issues include warping or uneven surfaces․ Ensure proper gluing and clamping techniques to prevent these problems․ Address cracks by reinforcing joints with wood filler or additional glue․
Fixing Warping or Uneven Surfaces
Warping or uneven surfaces can occur due to improper clamping or uneven drying․ To fix this, ensure the board is thoroughly sanded and re-flattened using a jig or clamps․ Apply even pressure and allow the wood to acclimate․ Sanding to a high grit and applying a food-safe finish can help stabilize the surface and prevent further warping․
Addressing Cracks or Separations
Cracks or separations in end grain cutting boards can occur due to uneven drying or poor glue joints․ To address this, apply a wood filler or reinforcing pins․ Sand the area smooth and reseal with a food-safe finish․ Regular maintenance, including proper drying and conditioning, helps prevent further issues․ Addressing cracks promptly ensures the board remains durable and fully functional․
Case Studies and Examples
Real-life projects showcase stunning end grain cutting boards, like the 3D Cube and Star Trek 3D Chess Board, demonstrating creativity and craftsmanship in woodworking․ These examples inspire makers to experiment with unique designs and patterns, proving end grain boards are both functional and visually appealing․
Real-Life Projects and Success Stories
A woodworker transformed scrap wood into a stunning 3D Cube End Grain Cutting Board, showcasing creativity and precision․ Another maker crafted a Star Trek 3D Chess Board, blending functionality with fandom․ These projects highlight how end grain cutting board plans inspire unique designs, from practical kitchen tools to intricate artistic pieces, proving the versatility of this woodworking technique․
Lessons Learned from Experienced Makers
Experienced makers emphasize the importance of proper glue-up techniques and using high-quality wood for end grain cutting boards․ They stress patience during assembly to ensure alignment and avoid warping․ Professionals also recommend detailed planning to achieve intricate designs, like 3D effects or inlays․ These insights help beginners avoid common pitfalls and achieve professional-grade results in their woodworking projects․
Create durable and stylish end grain cutting boards using detailed PDF plans․ Ideal for all skill levels, these projects help you craft functional and beautiful kitchen essentials․
Final Tips for Beginners
Start with detailed PDF plans to ensure accuracy․ Choose durable, food-safe woods like maple or walnut․ Practice proper glue-up techniques to avoid gaps․ Always sand thoroughly for a smooth finish․ Use push sticks for safety when cutting․ Apply food-safe oil regularly to maintain the board’s longevity․ Begin with smaller projects to build confidence and skills․
Exploring Further Woodworking Opportunities
After mastering end grain cutting boards, explore advanced projects like 3D optical illusions or metal inlays․ Detailed PDF plans offer guidance for intricate designs․ Expand your skills by experimenting with various wood species and techniques․ Join woodworking communities for inspiration and resources to elevate your craftsmanship and take on more complex, creative projects․