
Installation Guide
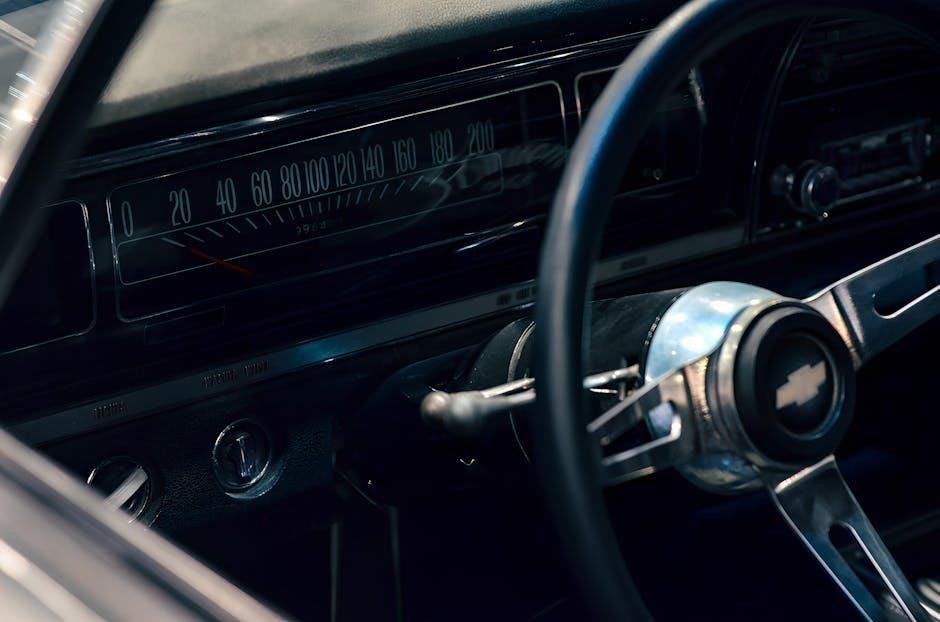
Unpack the dash cam and connect the power harness to the vehicle’s power supply. Mount the device on the windshield using the suction cup, ensuring a clear view. Adjust the angle for optimal recording and secure the wiring. Perform a bench test to verify functionality before permanent installation.
1.1 First-Time Installation Steps
Begin by carefully unboxing the RedTiger dash cam and its accessories. Locate the power harness, suction cup mount, and user manual. Connect the power harness to the vehicle’s power supply, ensuring proper insulation of wiring connections. Mount the dash cam on the windshield using the suction cup, adjusting the angle for an unobstructed view. Power on the device and follow the on-screen instructions to complete the initial setup. Use the QR code in the manual to access the installation tutorial for guidance. Test the camera’s functionality by recording a short video to ensure it operates correctly; Finally, secure all wires neatly to maintain a clean installation and avoid distractions while driving.
1.2 Wiring and Power Connection
Connect the RED wire of the dash cam’s power harness to the vehicle’s reversing light power supply for accurate power detection. Ensure all connections are securely insulated to prevent short circuits. Use the provided car charger to power the dash cam, avoiding the use of personal chargers. For hardwiring, connect the power cables directly to the fuse box, ensuring constant power supply. Refer to the vehicle’s manual for fuse box locations. Avoid connecting to the cigarette lighter for hardwiring to maintain stability. Secure all wires neatly to prevent interference with vehicle controls; If unsure, consult a professional for proper installation.
1.3 Bench Testing Procedures

Power on the dash cam using the provided car charger connected to the cigarette lighter port. Ensure the device turns on and the screen displays properly. Test video recording by pressing the record button, verifying it starts and stops correctly. Check the power button functionality and ensure all features operate smoothly. Simulate low-light conditions to test night vision capabilities. Review recorded footage to confirm video quality and clarity. If issues arise, refer to the troubleshooting section or reset the device. This bench test ensures proper functionality before official installation, avoiding potential issues later.

Features and Settings
The Redtiger dash cam offers 4K video recording, night vision, loop recording, and a 2.2-inch IPS touch screen for easy navigation and settings adjustment.
2.1 Video Recording and Quality Options
The Redtiger dash cam supports 4K ultra-high-definition video recording, capturing crisp details on the road. Users can adjust resolution settings from 720p to 4K, depending on storage needs. The device also features a wide dynamic range (WDR) to enhance image quality in low-light conditions. Additionally, the camera allows for manual adjustment of brightness, contrast, and saturation to optimize video clarity. A built-in microphone ensures high-quality audio recording, which can be disabled if preferred. The dash cam also supports time-lapse recording, reducing storage usage while maintaining key footage. These settings can be easily accessed via the touchscreen interface or the Redtiger app.
2.2 Night Vision and Low-Light Enhancement
The Redtiger dash cam features advanced night vision capabilities, ensuring clear video capture in low-light conditions. Equipped with a CMOS sensor and WDR (Wide Dynamic Range) technology, the camera enhances visibility in dark environments. The dash cam automatically adjusts exposure settings to reduce glare from headlights and streetlights while maintaining detail in shadows. Night vision mode can be manually enabled or set to activate based on ambient light levels. Furthermore, the camera’s low-light enhancement algorithm processes video in real-time, improving clarity without introducing excessive noise. This ensures that critical details, such as license plates and road signs, remain visible even at night, providing reliable evidence and peace of mind for drivers.
2.3 Loop Recording and Storage Management
The Redtiger dash cam offers seamless loop recording, ensuring continuous capture of footage by automatically overwriting the oldest files when storage is full. The system supports microSD cards up to 512GB, allowing for extended recording sessions. Users can customize loop duration, with options for 3, 5, or 10-minute segments, and lock important clips to prevent them from being overwritten. The dash cam also features built-in storage management, providing alerts when the memory card is near capacity. Additionally, the camera supports scheduled or manual file deletion, making it easy to free up space without losing critical recordings. This feature ensures efficient memory usage and reliable performance for drivers who require constant monitoring.

User Manual and Support
Download the latest Redtiger dash cam manual from the official website or via the provided QR code. Contact support at help@redtigercam.com or call 1-888-966-8028 for assistance.
3.1 Navigating the User Manual
To navigate the Redtiger dash cam manual, start by downloading the PDF from the official website or scanning the QR code provided in the packaging. The manual is organized into clear sections, including installation, features, and troubleshooting. Use the table of contents to quickly locate specific topics. Key sections include First-Time Installation Steps, Video Recording Options, and Troubleshooting Common Issues. Detailed diagrams and step-by-step instructions guide you through setup and operation. For further assistance, refer to the Support section, which lists contact information and online resources.

3.2 Downloading the Latest Manual

To download the latest Redtiger dash cam manual, visit the official Redtiger website at http://www.redtigercam.com. Navigate to the Support section and select Downloads. Choose your specific dash cam model, such as the F7N or F4, and click the Download Manual button. The manual will be available in PDF format for easy viewing and printing. Ensure you download the most recent version to access updated features and instructions. For assistance, contact support at help@redtigercam.com or call 1-888-896-68028 (US).
3.3 Compatibility with Various Models
Redtiger dash cams are designed to be compatible with multiple vehicle types, ensuring versatile installation options. The F7N and F4 models support both front and rear camera setups, offering comprehensive coverage. They are compatible with most car makes, including sedans, SUVs, and trucks. The dash cams also work seamlessly with the Redtiger App, available for both iOS and Android devices. For optimal performance, use genuine Redtiger accessories, such as the provided power harness and suction cup mounts. Compatibility extends to video formats like MP4, ensuring wide playback support. Visit the official Redtiger website for a full list of compatible models and detailed installation guides tailored to your vehicle.

Troubleshooting Common Issues
Common issues include power failures, connectivity problems, and error codes. Check wiring connections, restart the device, and ensure firmware is updated. Refer to the manual for specific solutions.
4.1 Resolving Power and Connectivity Problems

Start by ensuring the dash cam is properly connected to the power source; Check the car charger and wiring for any damage or loose connections. Restart the device and verify that the power button functions correctly. If issues persist, try using the original charger provided. Connectivity problems can often be resolved by resetting the device or updating its firmware. Ensure the dash cam is compatible with your vehicle’s electrical system. If the issue remains unresolved, consult the user manual or contact Redtiger support for further assistance. Regularly inspecting the power harness and connections can prevent such problems from occurring.
4.2 Understanding Error Codes and Solutions
Refer to the error codes displayed on the dash cam screen for troubleshooting. Common codes include E1 (memory card error), E2 (temperature issues), and E3 (GPS module malfunction). For E1, format the memory card or replace it if damaged. If E2 appears, ensure the device is in a temperature-stable environment. For E3, reset the GPS module or update its firmware. Additional codes like E4 (sensor failure) or E5 (loop recording issues) may require professional assistance; Always consult the user manual for specific solutions or contact Redtiger support for further guidance; Regular firmware updates can help prevent these errors and ensure optimal performance.